
A closer look at the work.
A stain is the starting point
Tell us when you first noticed the leak, what the weather was doing, and whether the area has been repaired before. Water can travel before it appears indoors, so the stain is not always directly below the entry point. We investigate the roof-related conditions and explain what the observations support.
The repairs homeowners call us about
We address missing or damaged shingles, pipe boots, vent flashing, and roof-related details at chimneys, walls, and skylights. Storm-related damage and recurring water entry also deserve a closer look. The scope should address the cause, rather than simply cover the nearest visible opening.
Photos, priorities, and a clear scope
We show you the findings and explain the recommended work. You should understand which area is being opened, which components are being corrected, and what is excluded. If concealed damage is possible, we discuss how additional findings will be documented and approved.
When repair makes sense
An isolated defect on a serviceable roof may need a focused repair. Widespread deterioration, brittle materials, or repeated failures may make a replacement discussion more practical. We look at condition and repairability instead of treating every leak as a reason for a new roof.
What to do before we visit
Photograph indoor symptoms and protect belongings only where it is safe. Stay away from wet electrical fixtures and sagging ceilings. Do not climb onto a wet or damaged roof. Call Patrick to discuss your location, the symptoms, and the appropriate next step.
Look beneath the surface.
A roof repair can involve more than the shingles you see from the ground. We inspect the affected area, explain what we find, and address damaged decking or flashing within the agreed repair scope. Photographs help you understand the work before those details are covered again.
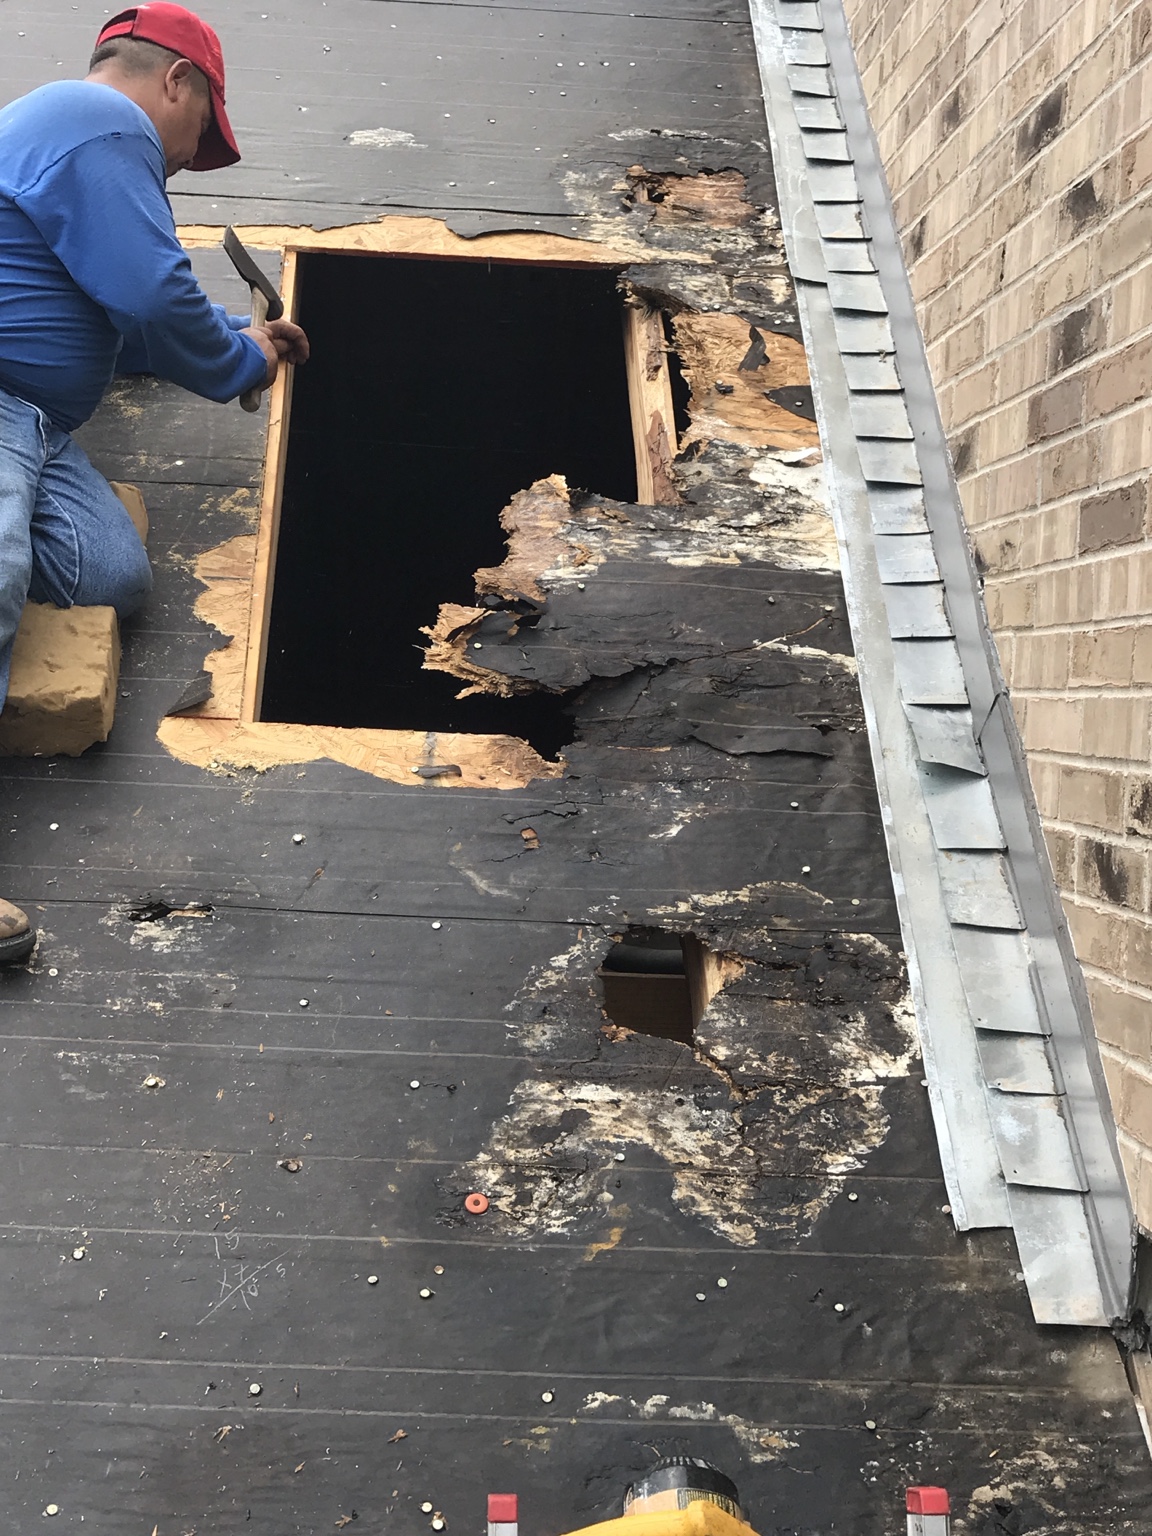
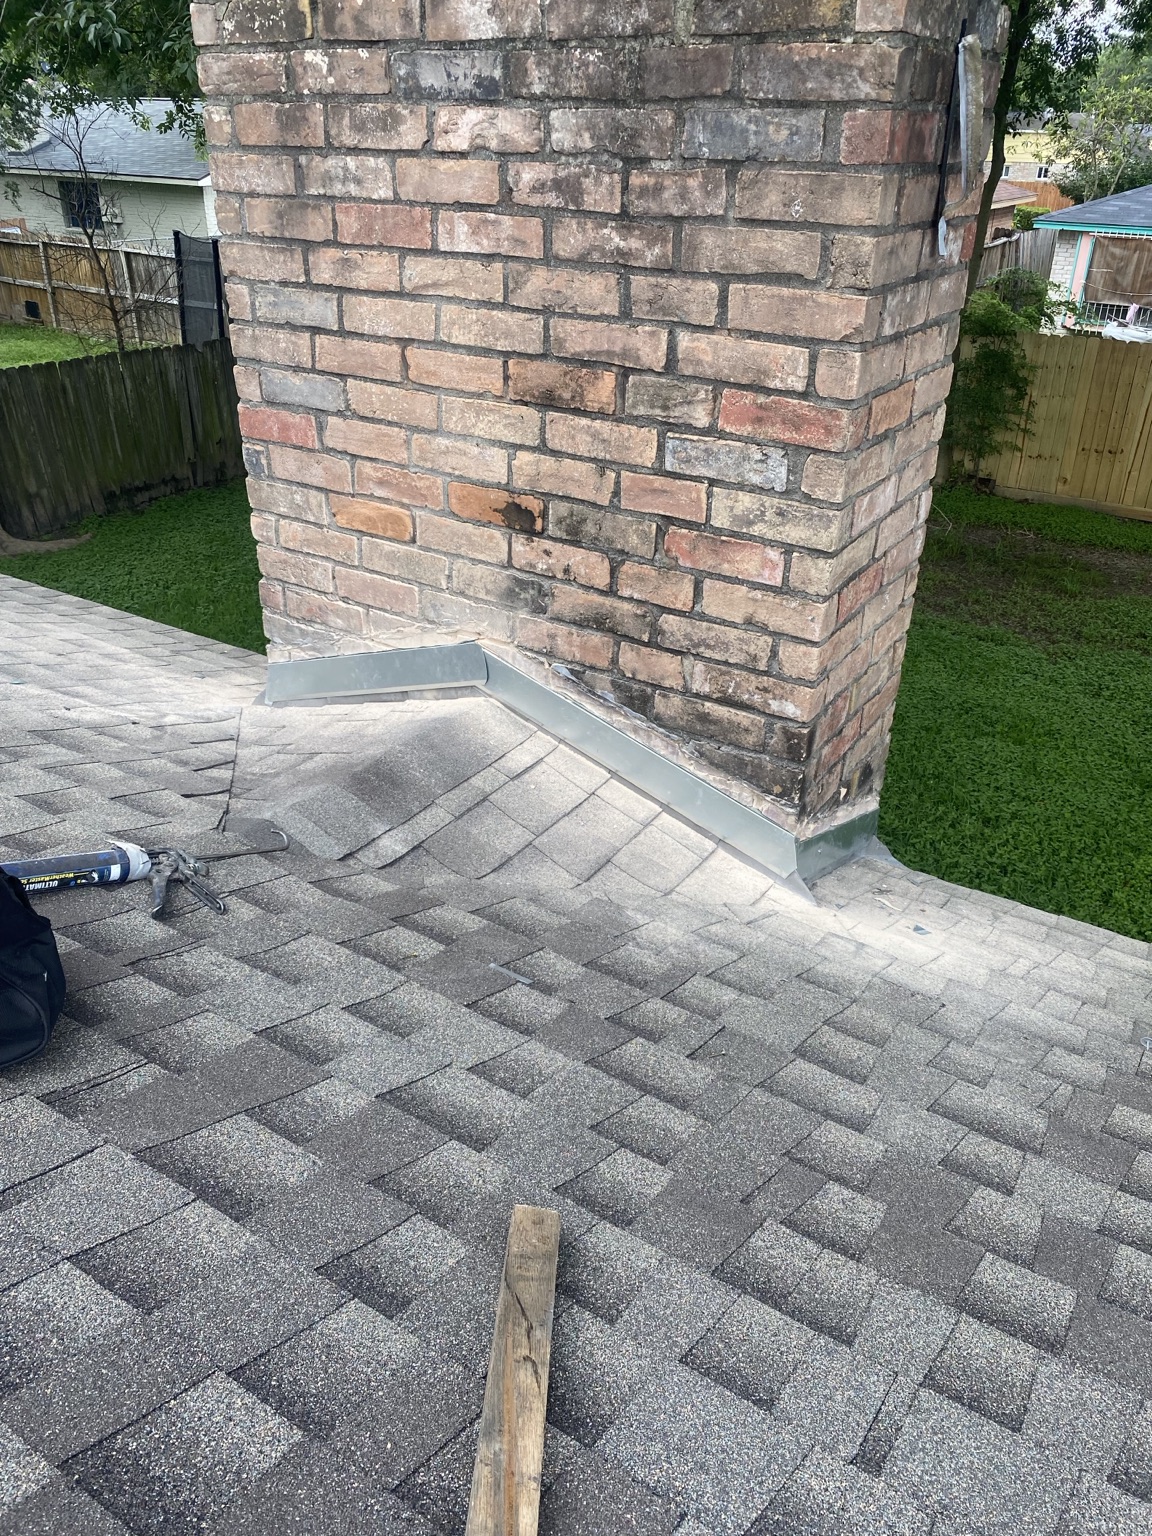
From hidden damage
to the finished shingles.
These five photographs follow the same repair in order. You can see the damaged material, its removal, the replacement decking, the protective layer, and the finished shingles. This is why progress photographs are part of how we explain a repair.
1. Expose the damage
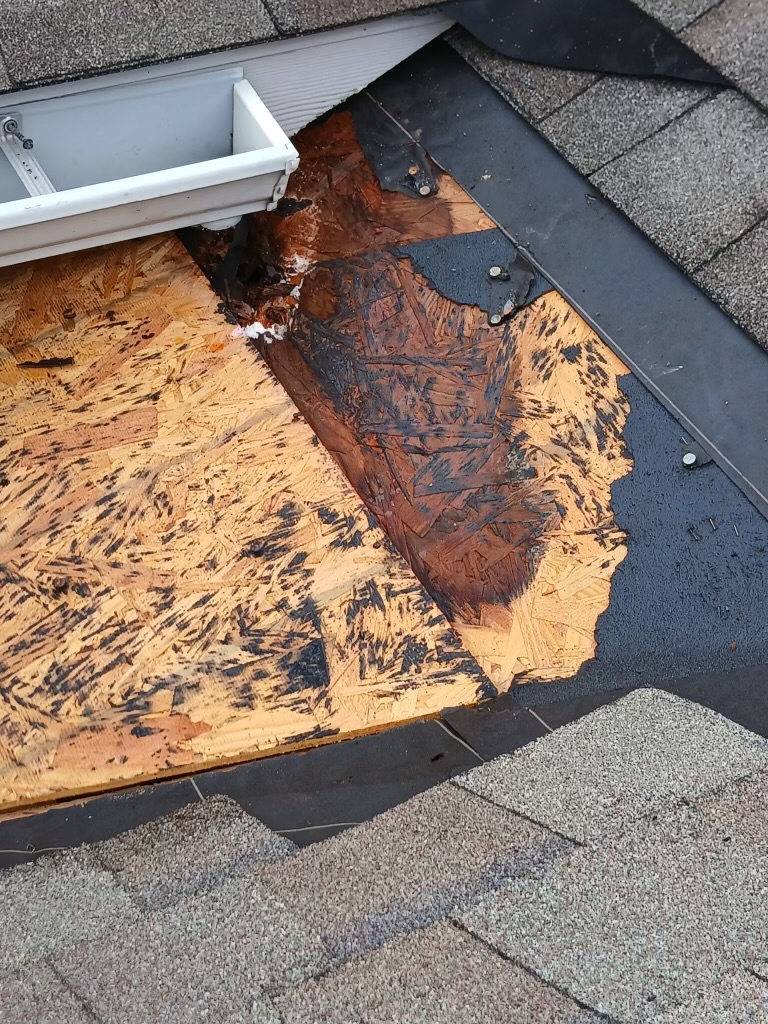
The roof covering is opened to reveal the damaged decking beneath it. 2. Remove the damaged decking
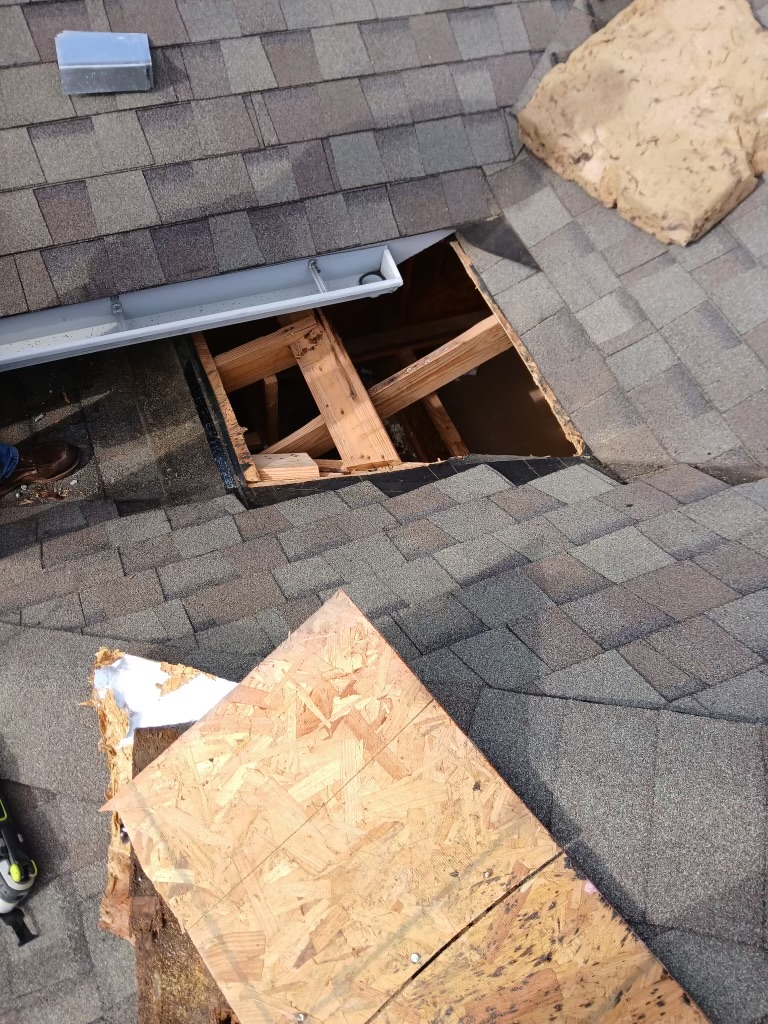
The affected section is removed, exposing the framing beneath the repair area. 3. Replace the decking
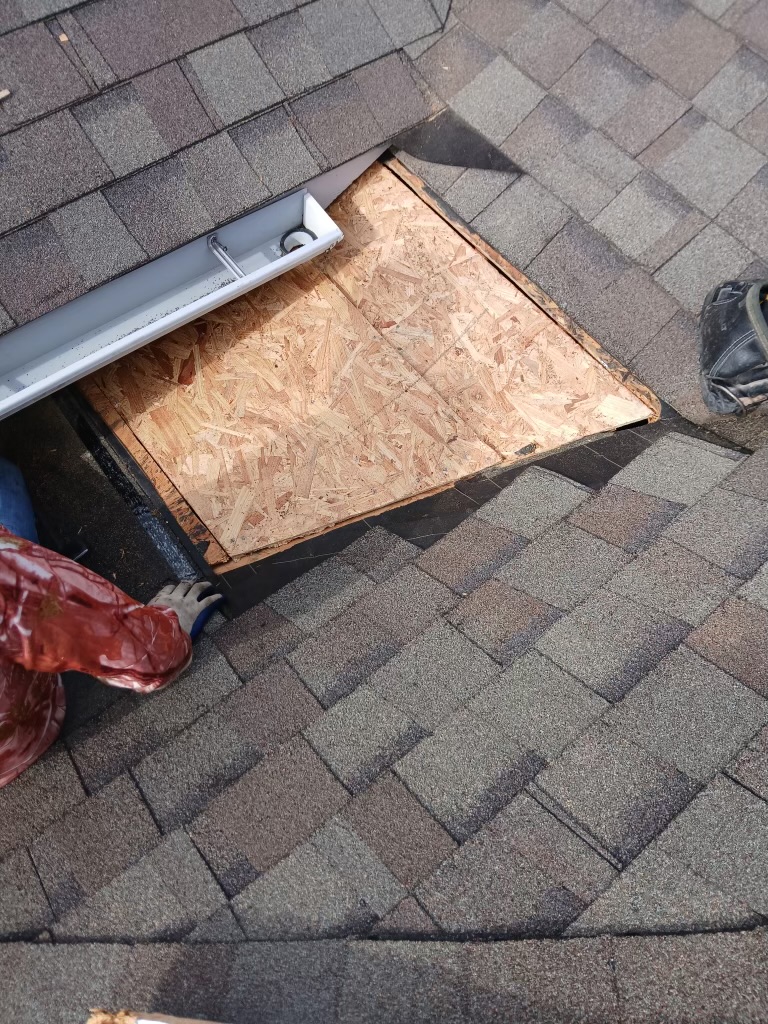
New decking restores the surface beneath the roofing. 4. Install the leak barrier
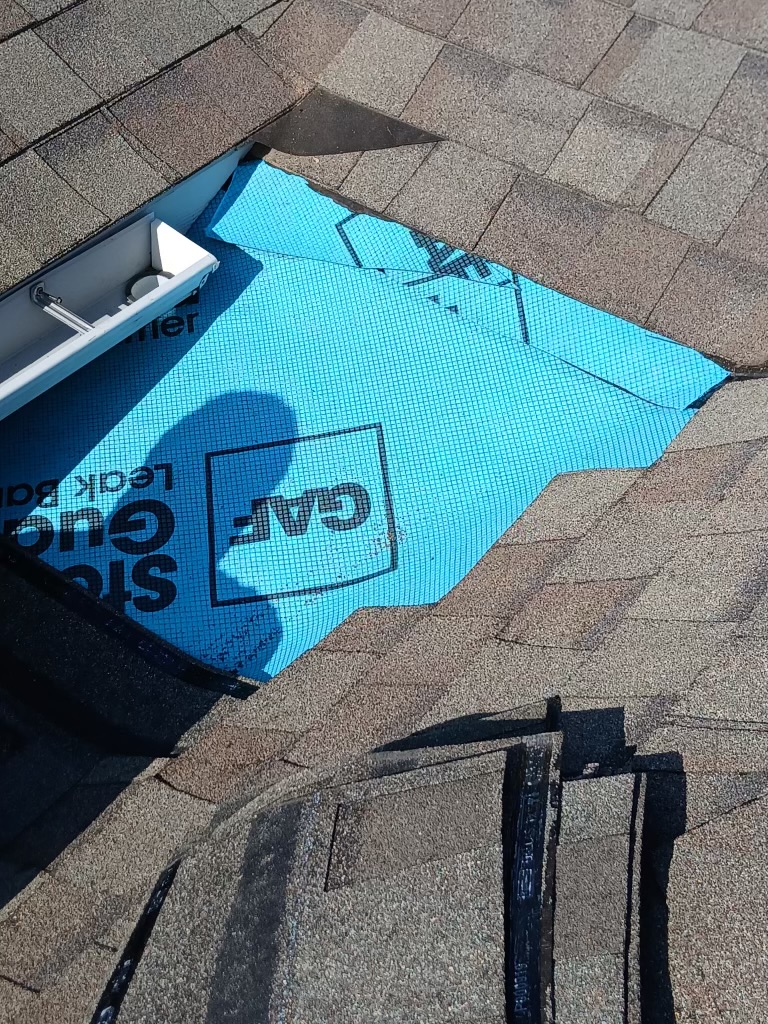
A leak-barrier membrane covers the repaired area before the shingles go back on. 5. Restore the shingles
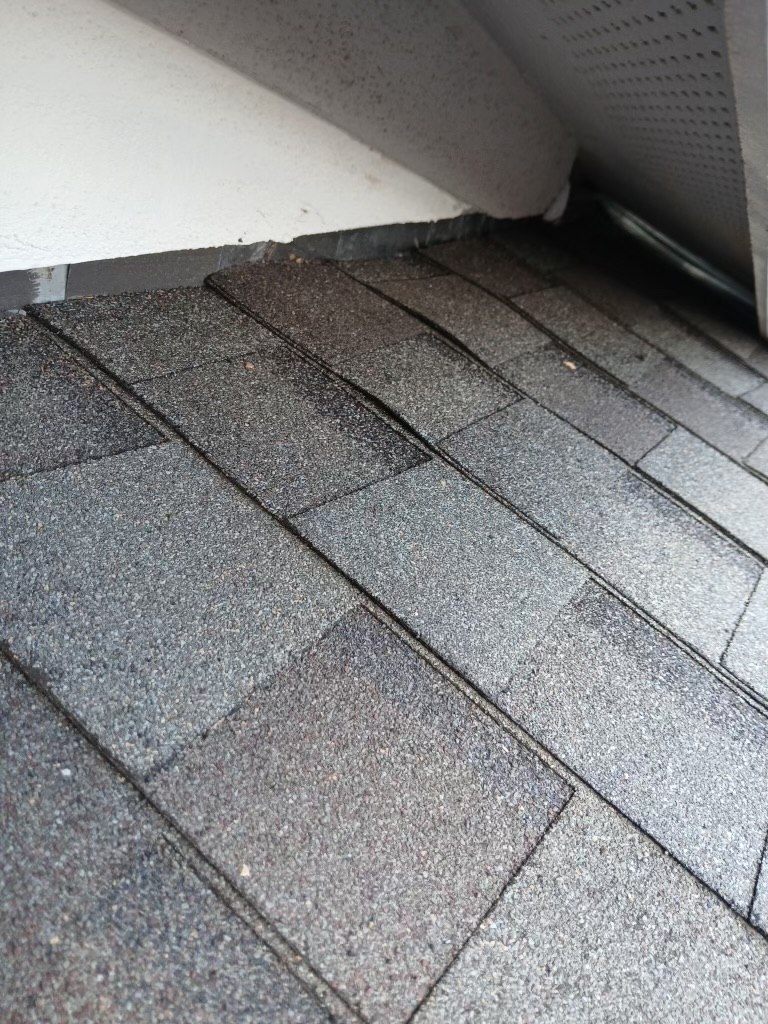
Shingles cover the repaired area, completing the visible roofing work.
Before you decide.
Will you inspect more than the leak location?
We consider the surrounding roof system and other visible concerns so the recommendation has context. Inspection access and concealed conditions can limit what is established during a visit.
Do repairs come with before-and-after photos?
We document the findings and completed roofing work so you can understand what was addressed. Discuss any specific documentation needs when we define the repair scope.
Let’s talk about your roof.
Tell Patrick what you’re seeing. We’ll discuss the next step.